Web design workflow is one of those difficult topics to target as designers across the globe are focused on designing graphics and then fitting them into web pages. Rarely does that pattern break, and designers tend to follow their own style of designing websites. However, when it comes to handling bigger projects, workflow of the design process matters the most.
Designers at Mind Metricks, a leading web design agency Dubai has to offer, which has been handling multiple website creation and deployment projects, understand the importance of design workflow. And to make things simpler for web designers across the globe, they have put forth a five-step web design workflow. This design workflow goes beyond the traditional process of defining the scope of work, gathering of content, creating wireframes of designs, implementation, and testing.
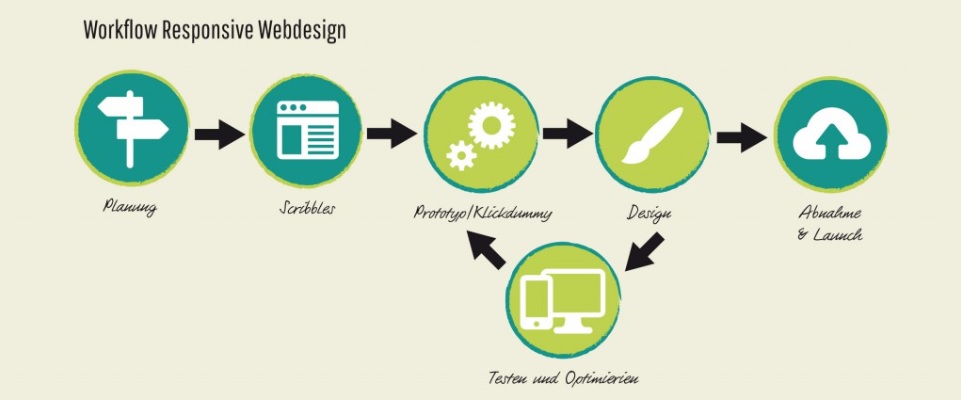
The workflow is described as follows:
Step 1: Sketch the plan
When the Design phase begins, it is essential for you to design the scope of work to help achieve goals. Post that, you can research about the topic, think about the user experience, and then create a wireframe. So the first step in the Design phase is to sketch out ideas on a paper, and this is best done using a paper and a pencil. Since childhood, we are accustomed to the paper-pencil model, and it surely helps to create the plan best.
Step 2: Make a Moodboard
Several industries, especially the fashion and interior design industry, largely relies on moodboards to set and clarify project goals. Moodboards are effective in making aesthetic decisions that help in creating a design. And that is why they work effectively in web designing too. The whole idea behind it is to capture the mood for making an effective aesthetic decision that elevates the overall design with respect to look and feel. Moodboards are best to capture the colour, texture, imagery, and pattern, even before the wireframe is created.
Step 3: Designing the mock-up or wireframe
Designing the first mock-up is said to be the most challenging part of the design process. But this is where your designers put their skills to test. A well-designed mock-up using Photoshop, Illustrator, or Sketch helps to get a brief idea of whether the design is as per the expectation. It is believed that a mock-up should be created and left alone for 24 hours by the designer. After that, it should be looked upon with fresh eyes to see how the design has come up, and then be presented to the customer.
Step 4: Make revisions and get approval
Those who have experience in designing understand that setting milestones help in implementing the design process smoothly. The first milestone is to show the mock-up to the client and get approval on the same. Post the approval, one can move to production. Before approval, the customer may find issues with the design. If there is feedback from the customer, then the same needs to be implemented in the mock-up, and the revised one should be presented back to the client. Only after the approval of the mock-up should you start the production process. The number of iterations and revisions should be
Step 5: Testing and Optimization
Once the approval is received, start with optimization of graphics and CSS. Here, care needs to be taken about the colours, layout, font styles, borders, drop shadows, and other elements of design. All imagery, graphics, and logos need to optimized for size. And extensive testing needs to be done of the HTML code, before the website is finally delivered to the client.